click the banner below to go back home

# Anbernic ARC-D/S Quickstart Guide

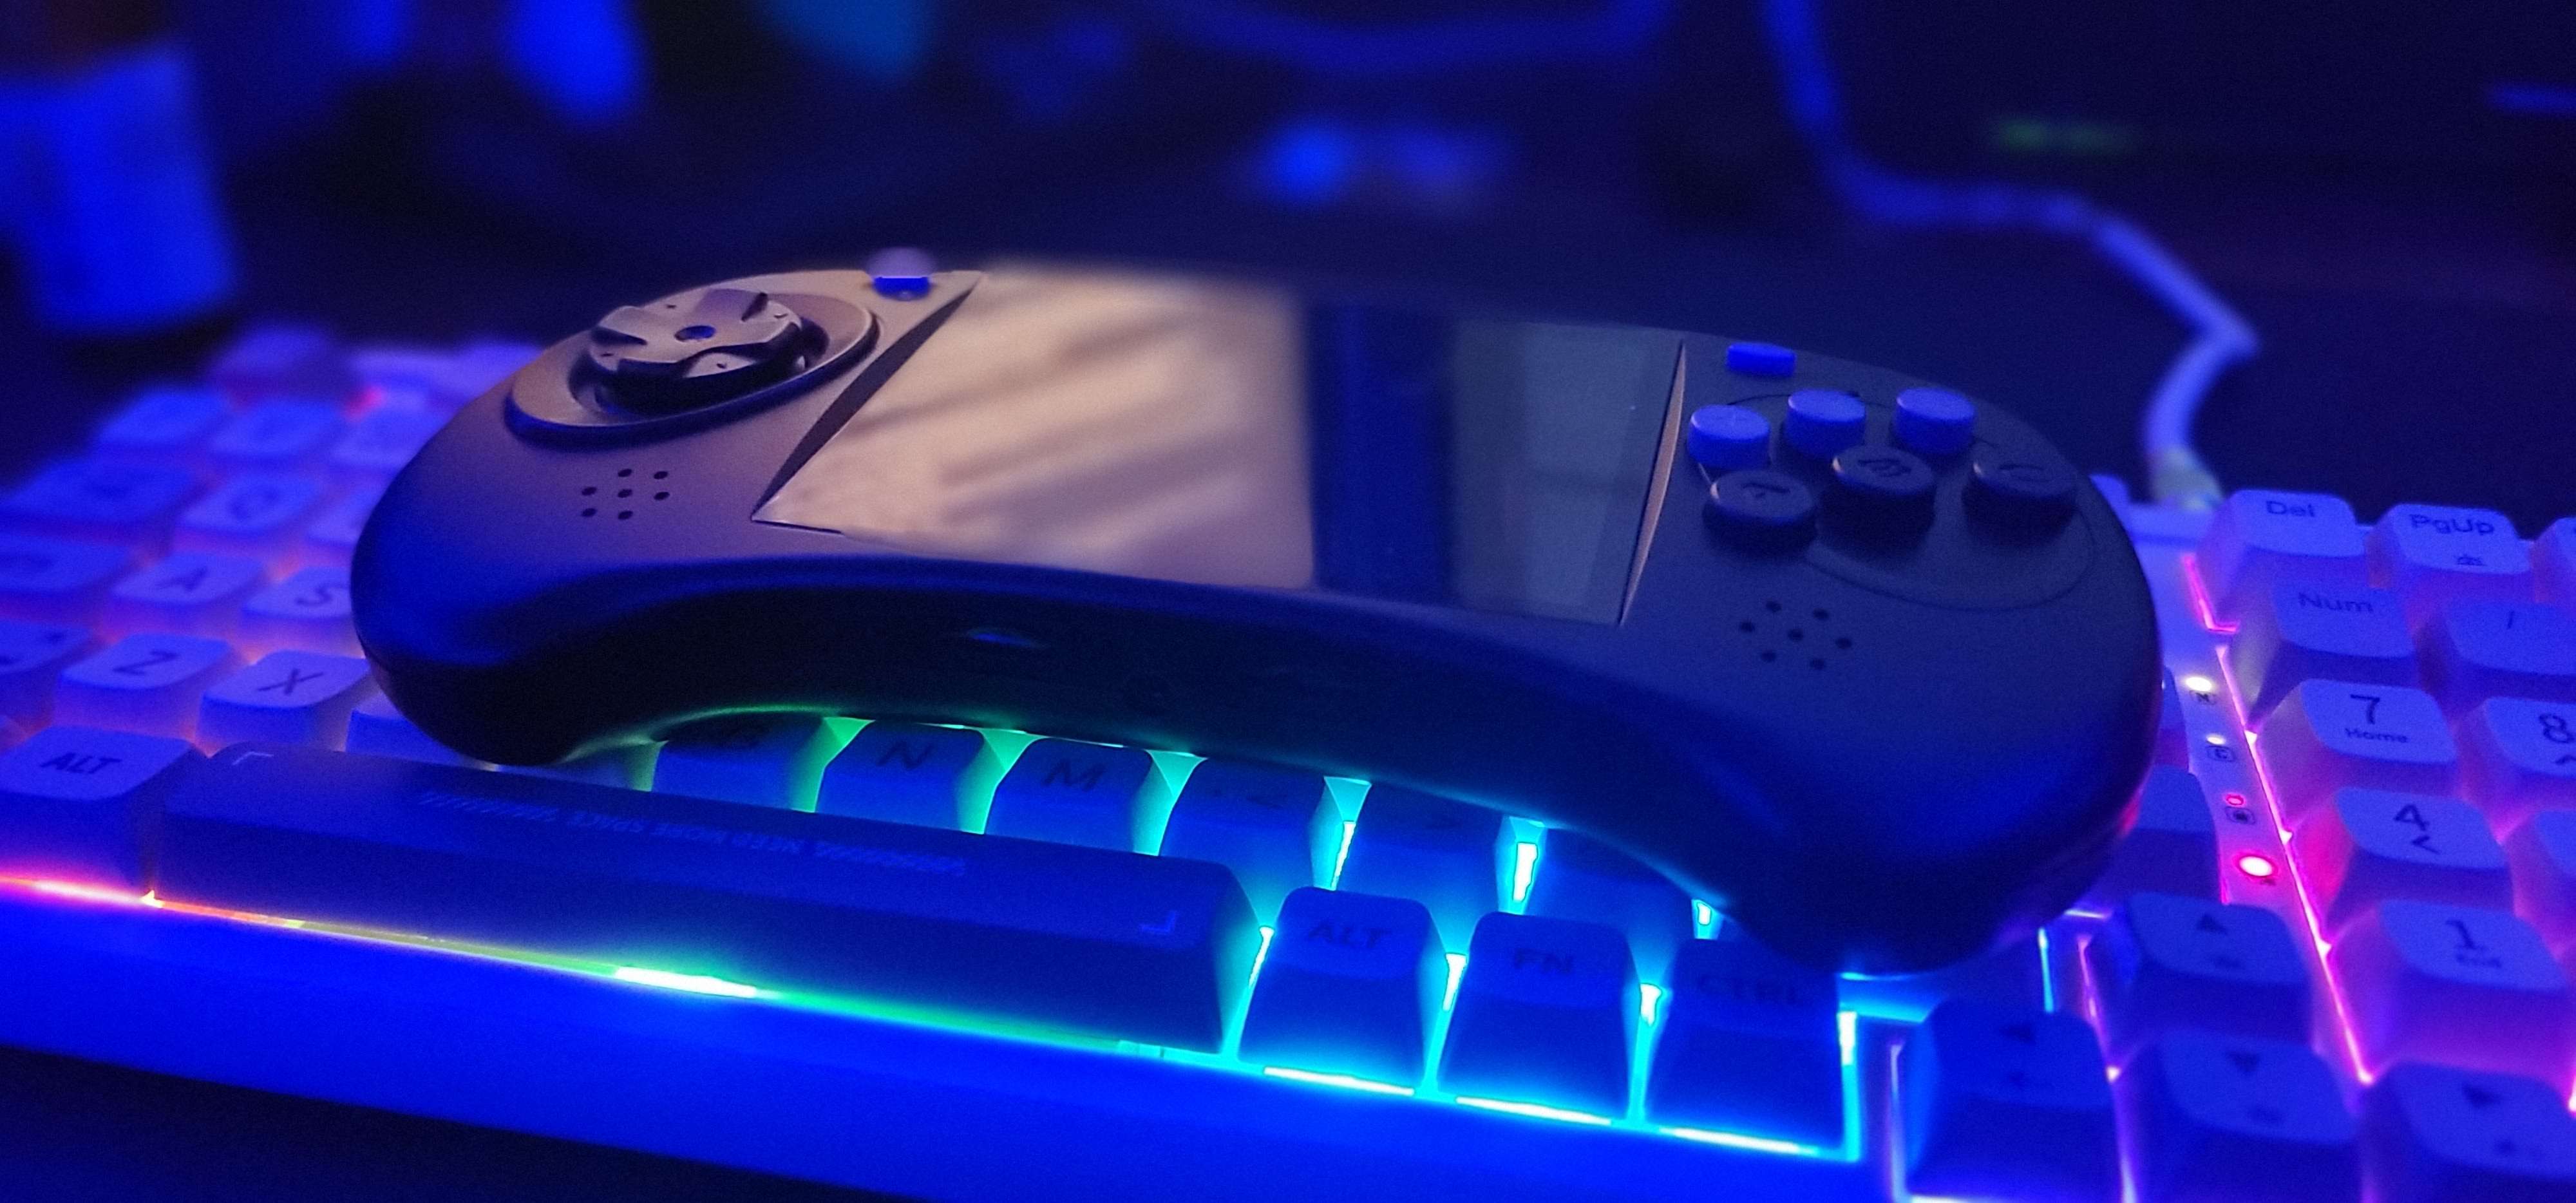
So you just got an Anbernic ARC-D or S and you want to know how to get the most out of your device ASAP? Here's an attempt at a no nonsense setup guide.
# Available Custom Firmware (CFW)
For the ARC-S the only available CFW is currently RA (Retro Arena) which is actively being worked on by a nice guy who goes by Tech Toy Tinker Company
For the ARC-D you can load up RA and replace the Android installation with GammaOS, which is being developed by another nice guy who goes by TheGammaSqueeze
# GammaOS (ARC-D Only)
# before we get started you need:
# let's get started
- insert your micro SD card into the reader and plug it into your computer.
- Launch the SDDiskTool
- Select your SD card under Choose removable disk (BE CERTAIN YOU'VE SELECTED THE MICROSD CARD BECAUSE THIS PROCESS WILL ERASE ANY DATA ON THE SELECTED DEVICE)
- Make sure Upgrade Firmware is checked. Do not check PCBA test or SD Boot.
- Click on the firmware button and locate the GammaOS .img file from within the archive you downloaded
- Press Create and press Yes (AGAIN, ONLY IF YOU'RE CERTAIN YOU HAVE SELECTED THE CORRECT SD CARD).
- Wait for the process to complete.
- At this point, copy the downloaded LinuxSDBootFix.zip file (unextracted) to the SD card.
- Eject your microSD card from your system using the Removable Media Device system tray icon to assure your card is properly disengaged
- Unplug your microSD Card reader, remove the SD card from said reader, and insert it into the TF1 slot on your ARC device.
- Power on the device. The install process will proceed automagically.
- Once complete, the device will request you remove the microSD card.
- That's it. When you remove the card, the device should boot into Gamma - First boot takes forever.
- Boot into Android, go to Apps and select Magisk.
- At the bottom right click on the Modules icon.
- Click the large Install from storage button at the top of the screen, navigate to the LinuxSDBootFix.zip file, and select it for installation
- At this point it should run through the installation really quick. If it gets stuck on writing the file to a temp location, reboot the device and try again
- Once complete, your device is ready to dual boot into either Linux or Android :)
# Retro Arena (ARC-S & ARC-D)
# before we get started you need:
# let's get started
- Put your SD card into the card reader and plug that into your computer.
- Load up Rufus - my preference is the portable version because installation is overrated.
- Under device, select your microSD Card (BE CERTAIN TO SELECT THE CORRECT MICROSD CARD. THIS PROCESS WILL ERASE ALL DATA ON THE SELECTED DEVICE)
- Under Boot Selection make sure Disk or ISO image is selected and press the SELECT button to the right of this field.
- Navigate to the folder that your RA firmware is located (If you haven't extracted it yet, I suggest you do so now. 7-zip is great archive software)
- In the folder that was extracted from the downloaded RA firmware, select the .img file.
- Press START at the bottom of the dialog. (REMEMBER THAT THIS ERASES ALL DATA ON THE SELECTED DEVICE)
- Wait for the process to complete.
- When process is complete, confirm any dialogs and close Rufus
- Use the Removable Media Device dialog in the system tray to appropriately eject your microSD card for good measure
- Remove your card reader from your computer, your card from your reader, and insert it into the TF1 slot on your ARC device.
# some things to know
- If your TF1 slot is empty on the ARC-D, it will automatically boot into Android.
- It's worth getting a nice fat microSD card for the TF2 slot to load all of your games/scraped images onto. (my 128GB is more than adequate)
- To get your TF2 microSD set up nicely, pop it into your SD card reader and format it to exFAT then pop it into your ARC and boot the device.
- In RA be sure to go to the Options menu and select Use SD2 for games.
(It will automatically create the appropriate folder structure for you to drop your games into)
- You will need BIOS files for dreamcast/playstation/saturn games to run properly. (I have no idea where to get those)
- If you can locate BIOS files, they go directly into the /bios/ folder (not in subfolders) which resides in the same parent directory as your consoles' folders.
- To connect to WI-FI currently in RA, you will have to enable WI-FI in the options menu, launch Retroarch, go into settings -> WI-FI, and connect to WI-FI. The rest is self-explanatory
# the end


